EPLAN.HOUSE
Features of wood as a basis for laying ceramics
One of the advantages of laying decorative ceramics on a wood floor is that it does not require the arrangement of a screed and additional leveling of the surface before installation. Installing tiles, especially anti-slip tiles, on wooden flooring is necessary for rooms with high humidity levels or where the floor needs to be cleaned frequently. It can be a bathhouse, sauna, kitchen, and bathroom. However, several factors indicate the problematic installation of ceramics on wood flooring. The main ones are:
- The difference in the operating time of the two materials under consideration: due to the shorter service life of the wood, tiles that are still suitable for use will have to be changed
- Differences in the structures of tiles and timber (cold and warm, respectively). It is impractical to lay cold ceramics on a warm flooring
- The wood floor is not static, which negatively affects the installation of ceramics
- Due to the lack of oxygen supply to the wood after installing tiles, the wood begins to rot and collapse.
When deciding on how to work on laying tiles on wood, you should know that you need to create fixed and durable flooring. The quality of the final coating directly depends on an intelligent analysis of the room, its characteristics, and the correct choice of technology for gluing ceramics.
Options for a wooden base for laying tiles
Decorative ceramics are laid for different coating options:
- Wooden floor without severe defects
- Joist flooring with dismantled floor covering
- Wooden floor in need of renovation
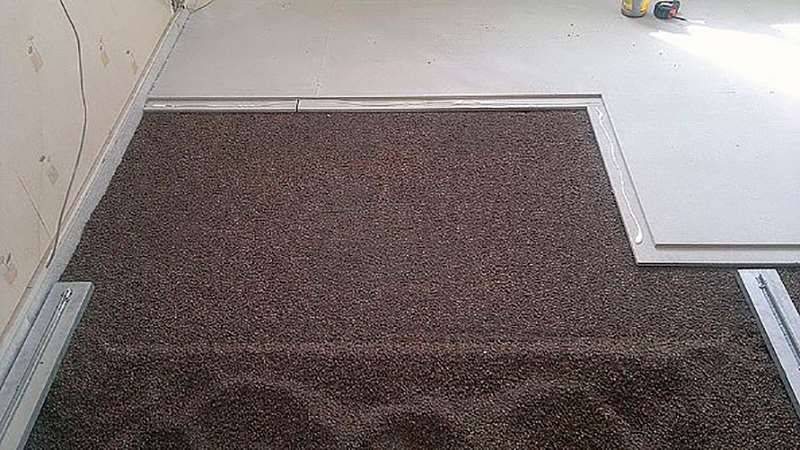
- Moisture-resistant plywood floor with or without joists.
The type of ceramic laying primarily depends on the condition of the coating. Regardless of the type of floor, the tile installation scheme is the same, but the preparation process for installation is different for each option. As a result of the preparatory actions, the surface on which the ceramics is laid must be free of slopes and defects.
What is required for work?
For competent laying of tiles on wood, you need to use specific tools and materials. If the builder seeks to avoid unnecessary expenses, then it is not recommended to use standard mixtures, which implies limiting the contact of the tile with the wood base. The recommended list of materials is as follows:
- A special adhesive composition that provides not only the possibility of displacement of the wood base without the likelihood of destruction of ceramics but also reliable waterproofing
- Polymer mixtures that improve the elasticity of the adhesive used
- Standard cement slurry with slight improvement by adding sodium silicate in it
You will need finishing materials, various containers for mixing mortars, rubber and toothed spatulas, assembly foam, primer mixture, and grout crosses for tile joints.
Thorough surface preparation
Experienced builders consider preparatory work to be the most challenging stage when working with tiles and wood. Due to the incompatibility of the materials in question, several more steps are added to the standard process of leveling the base. It is imperative to analyze the condition of the wooden coating: remove all rough boards, assess the condition of all supporting structures. If rot is detected, replace the damaged logs. To improve the heat-insulating layer, pour expanded clay into the free space.
It is obligatory to treat wood with impregnation with moisture-repellent and antiseptic properties. You must remove all layers of old paint and varnish. Replace the cladding only after the boards are completely dry. To compensate for the dynamism of wood, you can use pre-primed drywall fiber or plywood that is resistant to moisture. These additional underlays are attached to the floor or a specially constructed frame.
Cladding process
The technology for laying tiles on a wood base is practically no different from working with a concrete floor. The main steps are as follows:
- Prepare a special glue for ceramics, liquid nails, or cement mortar.
- Soak the tiles in water for a few minutes. This procedure is necessary for better adhesion of the adhesive to the tiles.
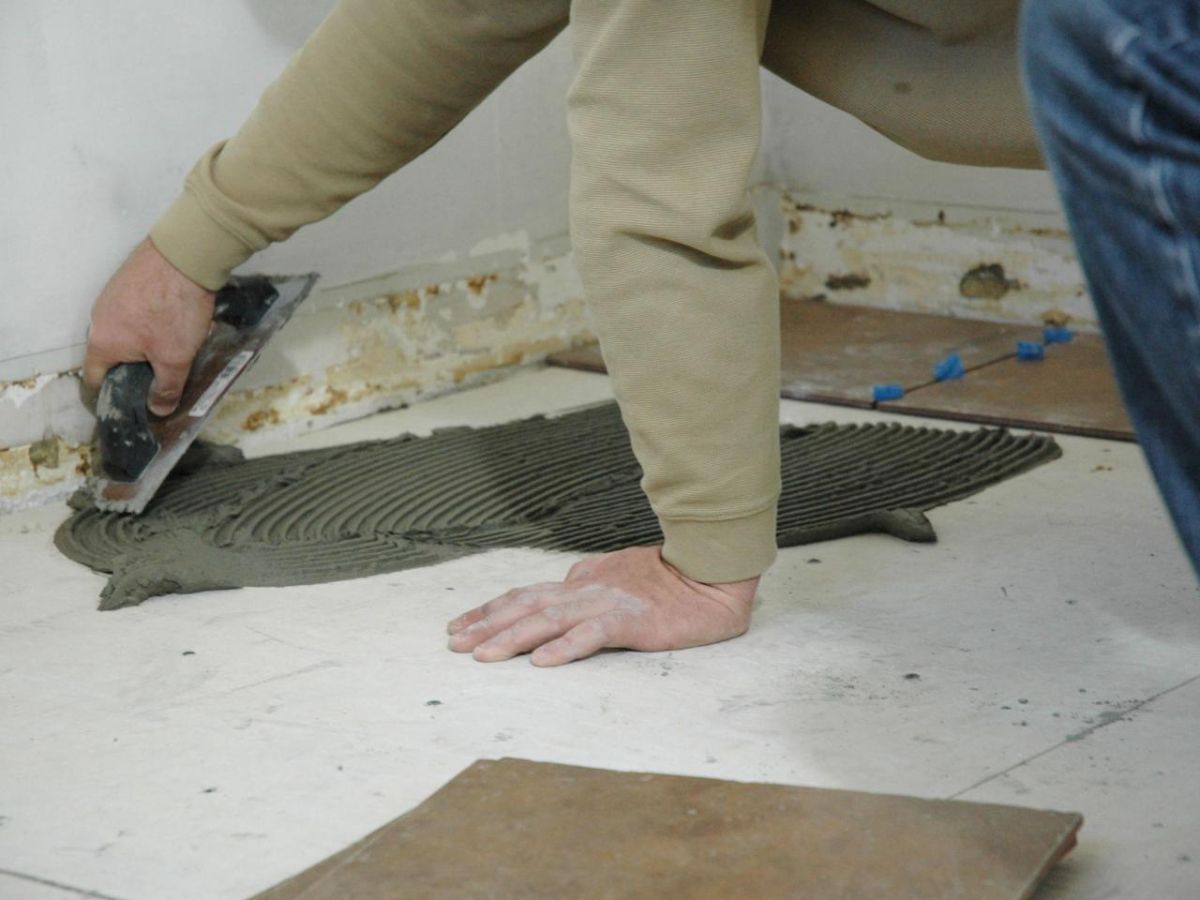
- Start working small areas of the floor in one direction using a notched trowel. It is necessary to monitor the evenness of the applied adhesive layer. If you process a lot at once, then the composition may dry out.
- Apply the prepared adhesive thinly to the ceramics, position the square of tiles parallel to the bathroom walls.
- Tap the ceramic with a rubber-tipped hammer, check the positioning using a spirit level.
- Insert a cross-seam cross to obtain perfectly even seams between the squares of the tile.
- Set the second ceramic square in the same way. When forming rows, you should always use a level.
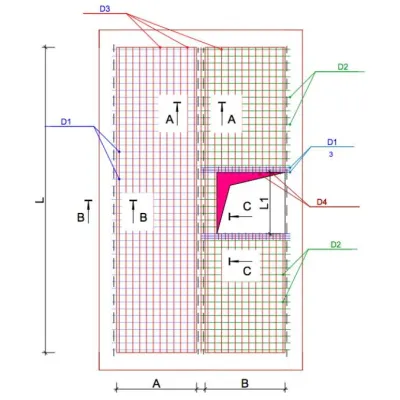
When laying tiles in rooms with a high humidity level, it is necessary to buy a special adhesive that is resistant to moisture and is of high quality. Saving money, in this case, will lead to the most undesirable consequences. If you plan to put ceramics in the kitchen in the apartment, then it is best to start work from the farthest corner or precisely from the central area. In the second case, for convenience, visually divide the entire room into four sections. Work out each zone separately. It is practical for a bathroom or kitchen to use a special primer to protect the surface from stains.
After you fill the seams, wait about an hour and wipe the finished floor with a dry piece of cloth to get rid of streaks and dust. Wet cleaning is allowed only after a day. With a responsible approach to work and careful implementation of all basic steps, the coating will be reliable and durable. The algorithm for installing tiles on a wooden floor is not complicated. The main thing is to follow the manufacturer's recommendations and use high-quality materials for work.