EPLAN.HOUSE
If the facade of a frame house is not adequately plastered, mold will form under the plaster, destroying the cladding of the frame wall. Many plastered homes in the U.S. and Canada suffer from decay on the exterior cladding because the walls probably got wet and failed to dry.
Among the causes that have been identified are the following:
- In many houses, the cladding was made of OSB, which is more susceptible to rot than plywood or wood siding.
- Many homes had only one layer of impregnated Kraft paper or roofing felt under the stucco rather than two layers.
- Houses lacked a ventilation gap between the stucco and the cladding.
- Many houses had a polyethylene film vapor barrier that prevented the walls from drying inward.
- Many homes had missing or improperly installed drips, exterior drip moldings, and window sills.
- Some homes had high indoor humidity combined with improper venting.
If you plan to plaster frame walls, you can benefit from the many lessons learned from all the failed plastering jobs of the last twenty years.
Although rot problems have occurred in walls with different "pie" types, the riskiest kind of wall appears to consist of the following layers: plaster, one or two layers of construction paper, OSB, fiberglass-filled studs, polyethylene, and drywall. While it's always a good idea to have two layers of construction paper instead of one, or to use plywood instead of OSB, or omit the polyethylene, excluding just one of these parts is not enough to prevent moisture damage to the wall.
So, what kind of wall construction will help avoid these problems?
Make at least two layers of kraft paper under the plaster.
The evidence is clear: one layer of roofing felt or impregnated Kraft paper is not sufficient protection under the plaster. This fact is now reflected in most building codes. For example, Section R703.6.3 of the International Residential Code requires that "facade plaster" be applied over "a water-resistant vapor-permeable barrier with characteristics at least equivalent to two layers of Category D kraft paper.
Construction of the ventilation gap and drip moldings
Many plasterers think that two layers of Class D kraft paper or roofing felt create a "ventilation gap" between the layers. The idea is that when wet plaster is applied to the plaster mesh, the application wets the paper layer, which wrinkles as it dries. These paper wrinkles are said to create an air gap.
While this theory makes some sense, thousands of collapsed walls have shown that two layers of paper are insufficient to prevent OSB from rotting. Whatever wrinkles the form has, it's not enough to make water runoff or the plastered wall dry faster.
Plaster absorbs water every time it rains and dries very slowly. There must be a real ventilation gap between the waterproofing and the plaster behind the application to prevent wet walls. The hole should be at least 20 mm.
Plastering over OSB or plywood
Attach at least one layer of waterproofing membrane such as Tyvek, roofing felt, or bituminous Kraft paper to the wall cladding.
Place a three-dimensional plastic drainage mat on top (e.g., МакМат ММ 19.1Lor дренажную мембрану DELTA®-MS 20.
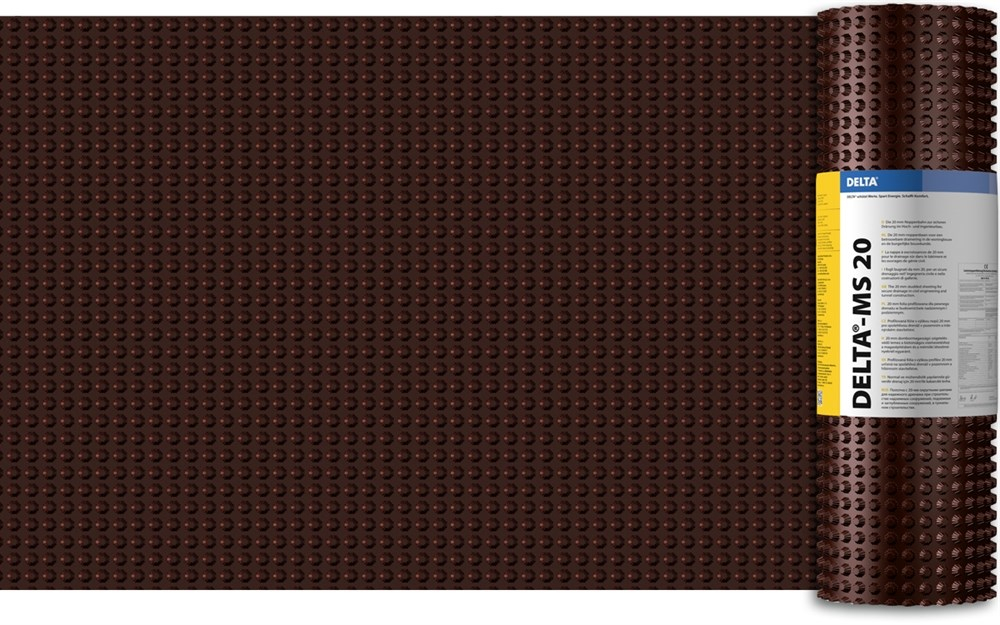
The DELTA drainage membrane is installed with the nubs facing inward. Install at least one more layer of felt or kraft paper on top of the drainage mat. Apply a thin base layer of plaster, in which you recess the application galvanized or propylene mesh, and plaster the walls with two more layers: a base coat and a finish coat.
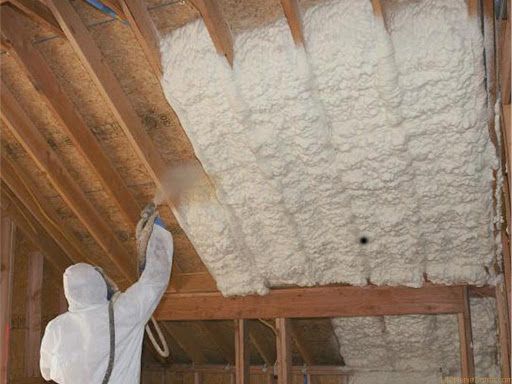
Plastering over polystyrene
Install a vertical crate 25x75 or 25x100 mm to secure the polystyrene foam by screwing the studs through the crate and the polystyrene foam.
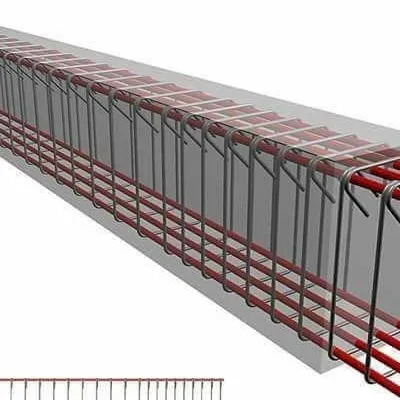
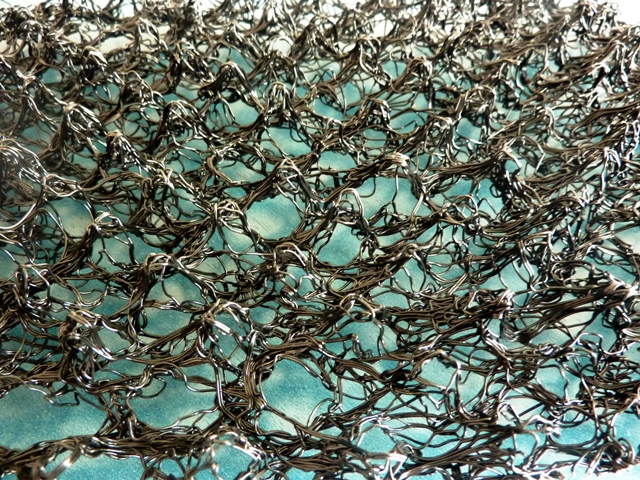
Attach the plaster mesh to the purlins and proceed with the standard application of plaster in three layers.
Follow the recommendations for humidity control.
It should be evident that any house needs adequate moisture removal and moisture regulation. However, such details are often missing or installed backward. If your home has wide roof overhangs, the walls can survive such mistakes. However, if your roof has narrow overhangs and the plaster is slow to dry, the walls may be in danger.
So here are the basics:
- Ruberoid, asphalt felt, impregnated kraft paper, or waterproofing and windproofing membrane of the house must be attached so that the upper webs overlap the lower traps. Any window or door openings should be integrated with the waterproofing barrier with this overlap in mind.
- Windows should have metal or plastic sills with dripstones, doors should have sills, and Z-shaped dripstones attached to both lintels.
- At the edges of the roof abutment to the wall above (as in the connection of a one-story garage to a two-story house), you must also install a flashing bar to prevent water from this roof to the wall below.
- Roof overhangs should be broad, not narrow.
Provide a high plinth
Because stucco is made from Portland cement and sand, many homeowners confuse stucco with concrete. That's why it's pretty standard for homeowners to choose a slab foundation that can't provide a high plinth. After all, the homeowner thinks stucco is like a foundation - so why can't I do a low plinth? But a low plinth, along with insufficient width and slope of the backsplash, leads to splashing on the wall, and a wet wall will lead to mold under the stucco.
How about a single layer of stucco or facade cladding?
The details suggested above apply to traditional Portland cement-based three-layer plaster. Some builders have switched to more modern application versions - either "single-layer" plaster (a method of plastering that requires two layers) or exterior insulation and finishing system - facade panels under the application.
Single-layer plaster consists of an 18 or 12-millimeter layer of "reinforced" Portland cement-based application covered with a thin finishing layer. Most single-layer plaster compositions include glass or polypropylene fibers and polymer additives. The single-layer application can be applied over OSB, plywood, or polystyrene foam with a thickness of 25 mm.
Installation of facade panels always includes a layer of rigid foam insulation or polystyrene foam. A plastic mesh is placed over the foam insulation, and a synthetic plaster mix (i.e., a plaster composition not based on Portland cement) is applied or sprayed directly over it.
At the beginning of the application of facade systems, the recommended installation technique caused mold growth under the facade panels. But after receiving negative experiences, the manufacturers changed their technical solutions albums, adding a mandatory air gap between the polystyrene foam and the wall cladding. There were almost no problems with fungus formation in new houses clad with the facade system and equipped with a vent gap.
Regardless of which system you choose - traditional three-layer plaster, modern one-layer plaster, or facade panel system - any installation that lacks a ventilation gap between the plaster and wall cladding is risky.
By the materials of сайта Green Building Advisor