EPLAN.HOUSE
Modern standing seam metal roof not only looks beautiful but also relatively inexpensive and durable. It is especially suitable for roofs with a small slope starting from 10 degrees. It is also well suited for roofs without attic.
This roof won't leak for at least 30 years. We also going to collecting rainwater off of this roof surface so we want our rainwater to be as clean as possible and definitely avoid the petroleum residues that you might get from asphalt shingles.
Roof Underlayment
The purpose of the roof underlayment is to provide a waterproof layer that drains water away from your roof wood framing. Typically most underlayment installations are simply a layer 30 pound felt paper. We go above and beyond to extend the life of the roof. It's cheap insurance. We install Grace select as it seals around fasteners to keep a free-leak roof.
The Roof Underlayment

Measuring and Layout
Layout a Square Reference Line
Measure and layout your roof is super important. After all, you don't want to stop in the middle of your project and realize you're way short of critical material.
Symmetry
We want to make sure that we have the same distance between the roof's edges and the first rib on one side as we have on the other side. So what we're going to do there - shift the panels and split the difference so, that we have a 10-inch wide rip on the right and a 10-inch wide rip on the left.
When to Install Metal Roof?
Install roofing after your roof framing is complete! Ideally when you're finished fascia and underlayment are installed. You also want to have your roof penetrations and vent flashings figured out. Hold on drilling until you start roofing. On-site plumbing vents and other vents like a chimney, pipes can and should be cut in. After you have a chance to layout your panels so they don't land on a rib or in any other awkward spot to waterproof.
So make sure that you order striations on your metal panels. It'll keep the roof looking really good and keep it from bubbling up and not doing that oil canning that nobody likes to see.
Will your roof require venting?
That's a really important question to ask in this case. This depends on your roof pitch. If the roof pitch up to 6 by 12 roof doesn't need an air gap because there won't be enough air pressure. That roof better to make an unvented roof.
If you're spraying eight inches of open-cell spray foam insulation in the roof deck, you need to vent the roof because that open-spray foam insulation let moister to escape.
We suggest using a product called the Tech Shield that has an aluminum face on the bottom which reflects all the radiant heat from the roof. That needs 1 to 2-inch airspace. So you have to put vent baffles up in the rafter bays to create some airspace and have that breathe essentially.
Vent space under the sheathing

When you creating a vented roof this needs a vented soffit that allows air to get in from the low end of this roof and travel up the rafter bay through that 2-inch airspace and out the roof.
Vented soffit

If you won't do that, moist air gets trapped inside of your roof framing. If it gets really cold outside, moist air is going to condense into little water droplets. It makes rot your wood framing. So we really have to make sure that we vent this roof. If you make airspace in your roof moist air get out of there.
Checking for square with diagonals
To squaring up your sloped edge to the drip edge, snap a reference line for the first panel. Go up eight inches from each corner of the roof, snap a horizontal chalk line. Then from there, make a 12-16-20 foot right triangle to make sure that the first-panel layout is square to our drip line. Pull 12 feet horizontally. From one side pull 16 feet vertically and from another side 20 feet on a diagonal. And then wherever those cross 16 and 20 are the point. Mark that point and then snap a line straight through that point where the 16 and 20 intersect. So you've got a straight line to your drip edge and it's the reference line that you're going to measure your first panel.
Сheck square roof.

Installation
Installing drip edge flashing
In the case of standing seam metal roofing, the drip edge serves as a cleat to hold the bottom edge of your roof panels so that wind doesn't pick it up and blow it off. It also creates a waterproof transition from your metal panel straight into your gutter. It's really important to either tuck that drip edge underneath your underlayment or if you have to tape the drip edge to your roof under the nail or screw.
Drip Edge on eaves

The drip edge flashing nailed every eight inches in a staggered pattern. Just make sure that it goes into your sub wood framing. For the rake side of the roof, you should install a square angle drip edge. Bend it at 90 degrees because it's following the roof pitch all the way down for the drip line down.
If you have a 10 by 12 pitch on the gable roof, you want to bend that drip edge so that it's plumb because you've got plumb cut fascia. Its top edge has a 40-degree slope for 10 by 12 pitch. That's really important because if you try to put a square drip edge on a pitched roof it will bend and then the metal on the eaves makes a dip at the end. This going to pull your metal roof panels up.
Drip edge on eaves

The layout is key to spend the time upfront measuring and making sure that your layout is right and the rest of the panel installation is going to go smoothly and nicely.
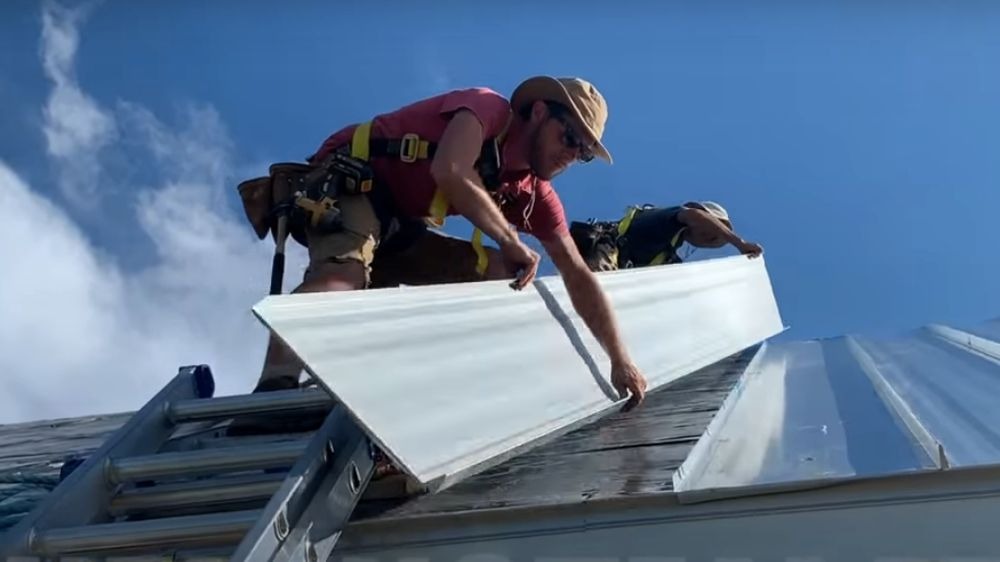
Rip and Fold the Starter Panel
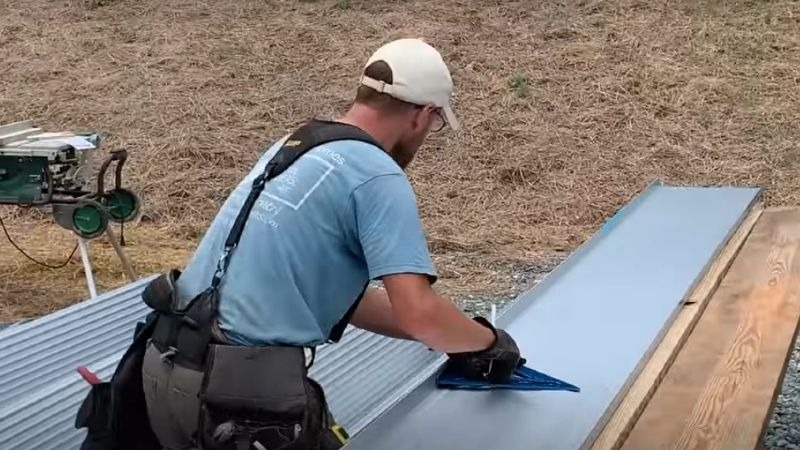
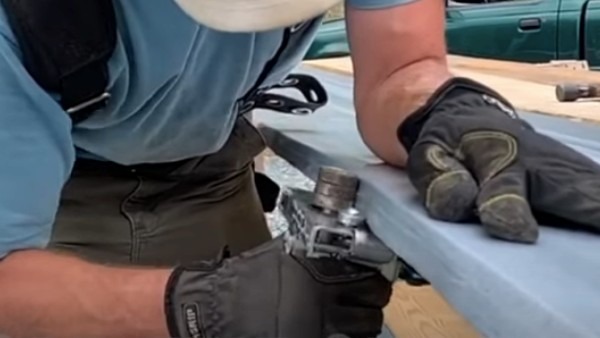
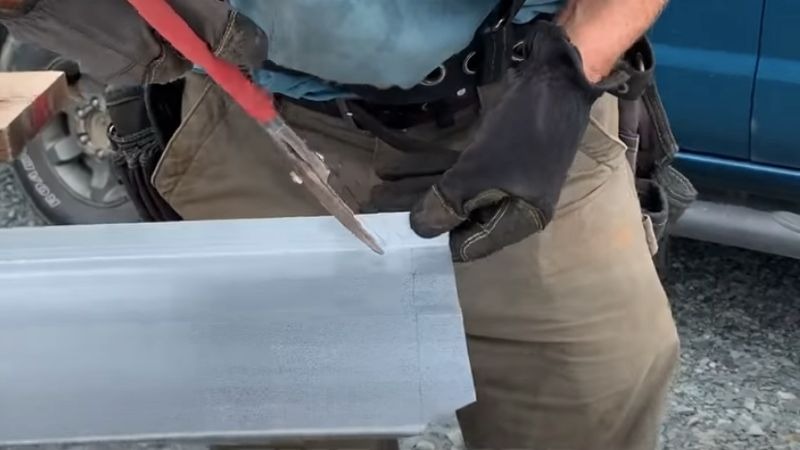
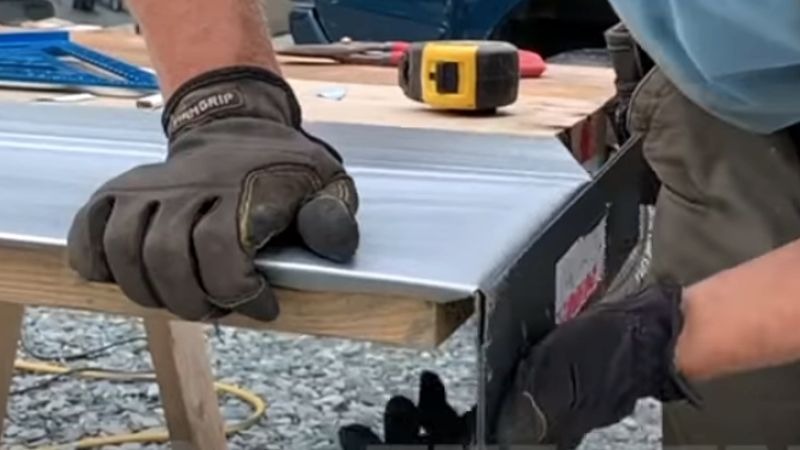
Panel Installation
Make it symmetrical with the opposite side.
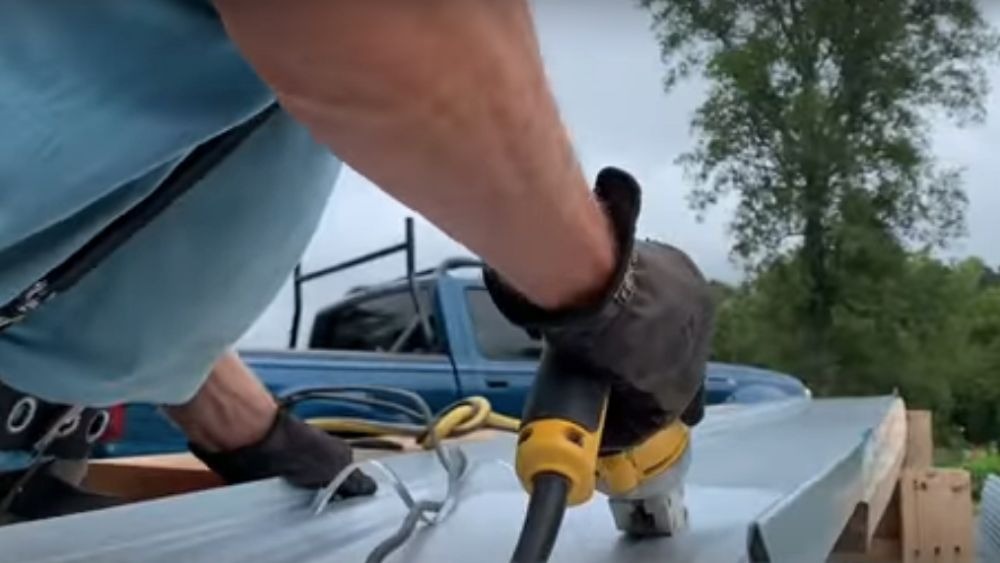
You have two clips within the first eight inches of the bottom to keep the wind from picking up your roof and then every two feet from there. You're going to fasten another clip so types of flashing.
Clips nailing

If you have a simple gable roof all that you need is a drip edge and ridge cap. Your ridge cap covers the gap between both ends of your roof and since the standing seams are an inch and a half high you should make a gap between each one of those panels so there you can install a Z closure to provide a waterproof anchor point for that ridge cap. This connection allows moist air to escape. But it's going to allow a lot of windblown rain to get up in there.
Z-profile

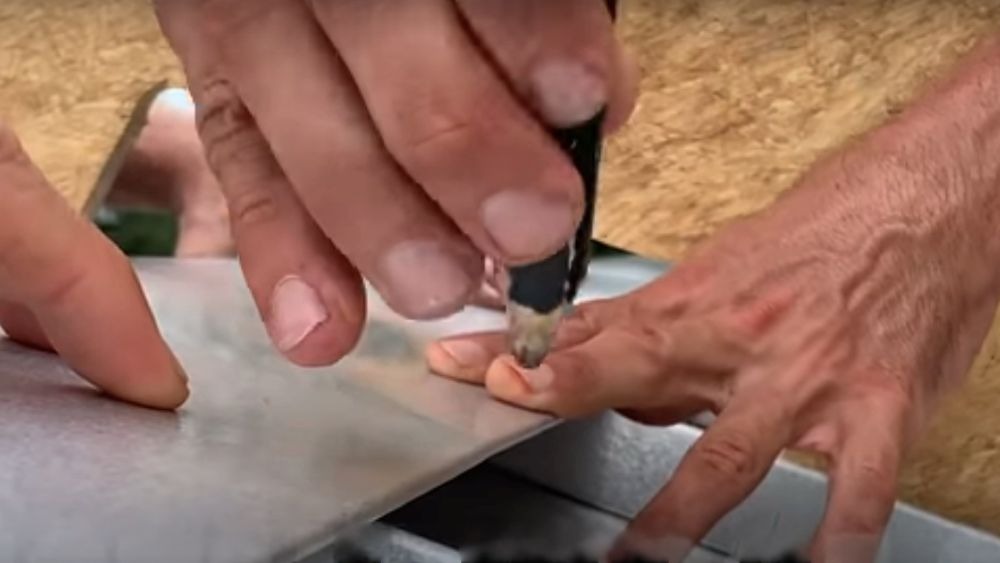
Take a piece of the ridge cap on top of the roof. Set it on top to see how it planes in.
Take a pencil and mark both sides of your ridge cap to make sure you know exactly where your ridge cap is going to land. Thus you'll know exactly where you need to fasten those Z closures.
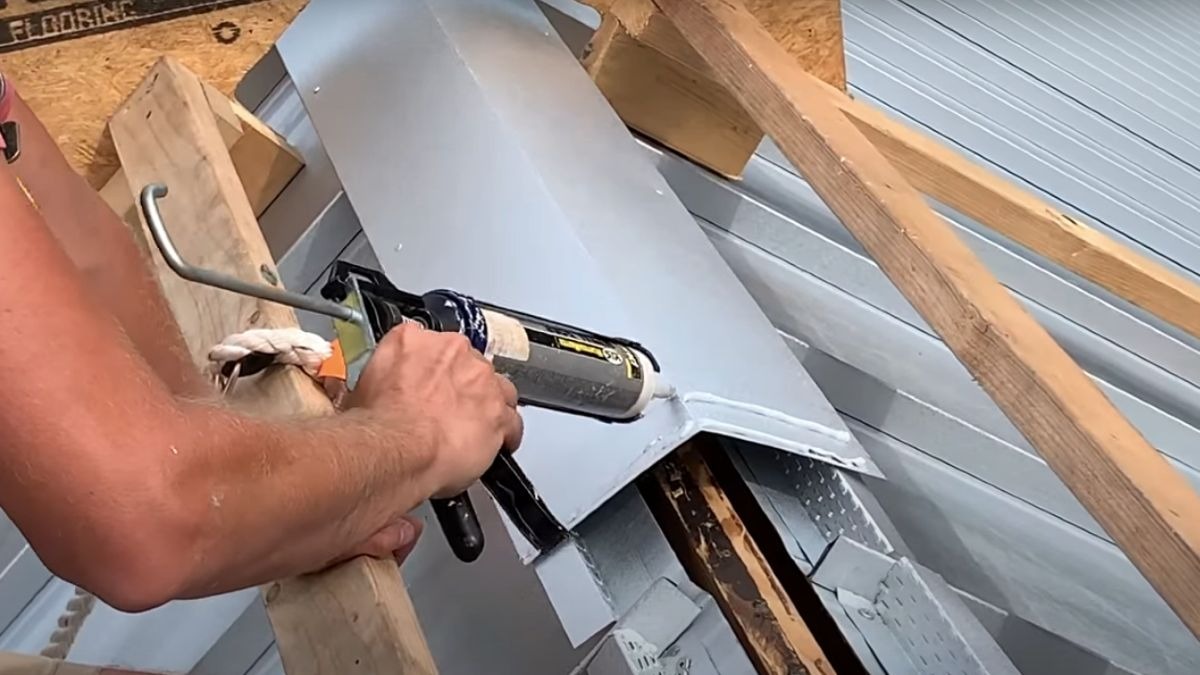
Secure each one of these pieces of Z box with two screws in each and make sure that you've got butyl tape to seal up the bottom edge where the Z bar attaches to your roof panel.
Now that you got your clips and your Z bar installed it's time to set that ridge cap hook one side of the ridge cap. Shim on anchors making sure that all the clips are hooked. Sometimes some of those can hang low and they're not doing anything.
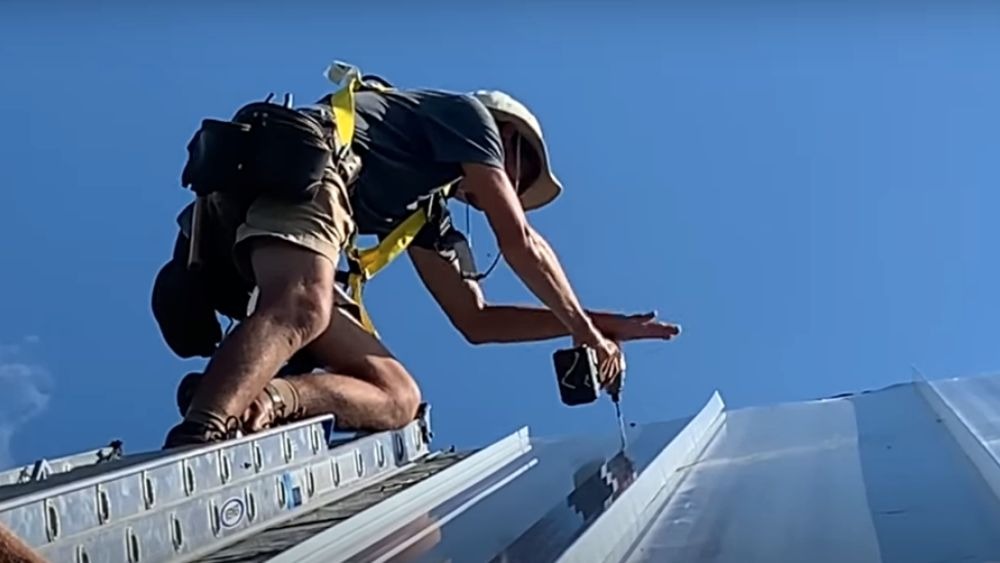
Then stretch the flashing over the top of the ridge on the other side and hook it onto the other Z bar. Then all you got to do is come back and take an eighth-inch drill bit drill a couple of holes through the other edge of the roof cap, through the z bar and pop rivet them together. Thus you've got a waterproof roof.
Drill the ridge cap

Now it's really important to make sure that you're not installing the bleeding edge of your Z bar. Your Z closure on that chalk line because the one that chalk line is actually on the outside of your ridge cap and you want to actually give a little bit of expansion and contraction room and a little bit of rim because remember you've got to you're hooking one side of the ridge cap and you're stretching it over the ridge and hooking it onto the other.
You have to have enough wiggle room to be able to get it over and hook back so you don't want to make it too tight where it's just no way. You can stretch that ridge cap to hook your other side of the z bar and don't forget to overlap each one of those pieces of ridge cap four inches and caulk the joints.
This is where it starts to get pretty weird but it makes your roof super awesome at each peak on either end of your roof.
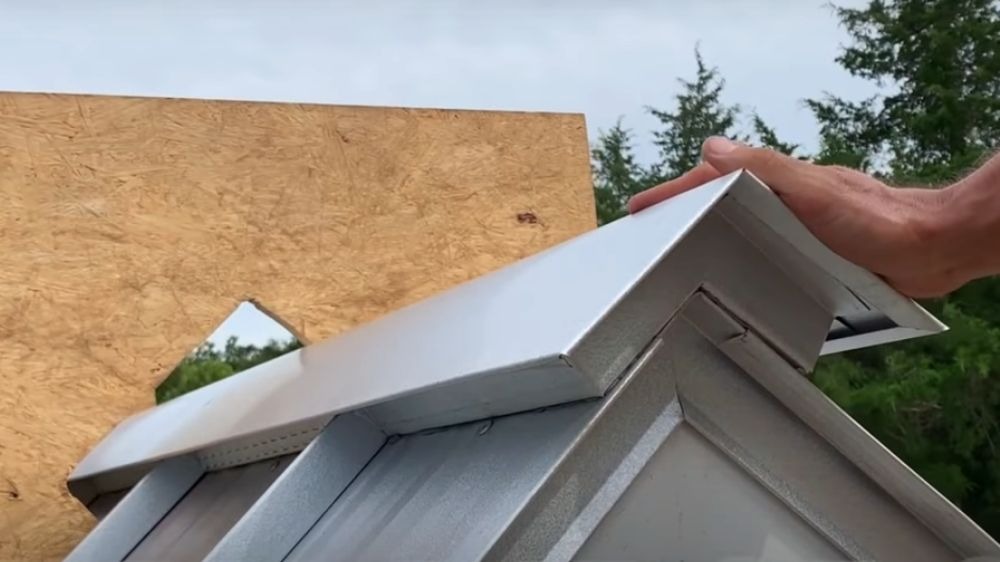
We're going to run Z bar horizontally like all the rest of them. That we're run up the roof back down the peak and back to the last rib that Z bars got to go all the way to the very edge of the roof so that there's no metal panel break at the ridge.
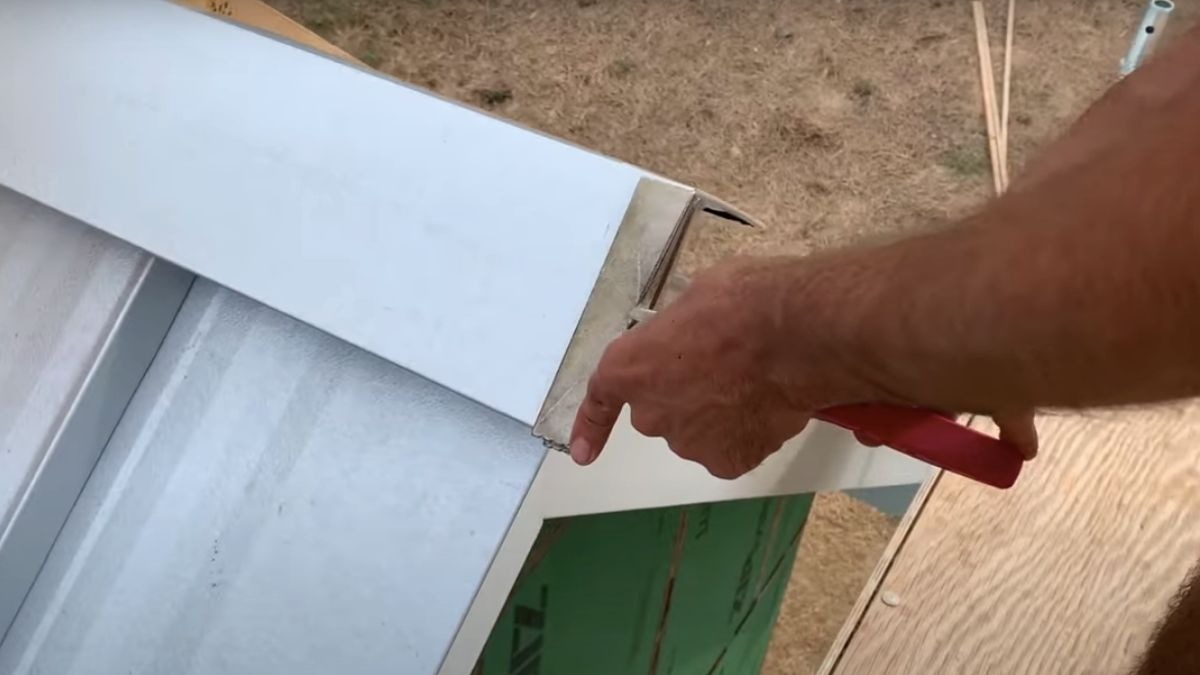
So bold and miter the ends of the ridge cap around that Z closure on the ends for a nice waterproof.
Look how clean the ridge cap end. It's flash with seam ribs.
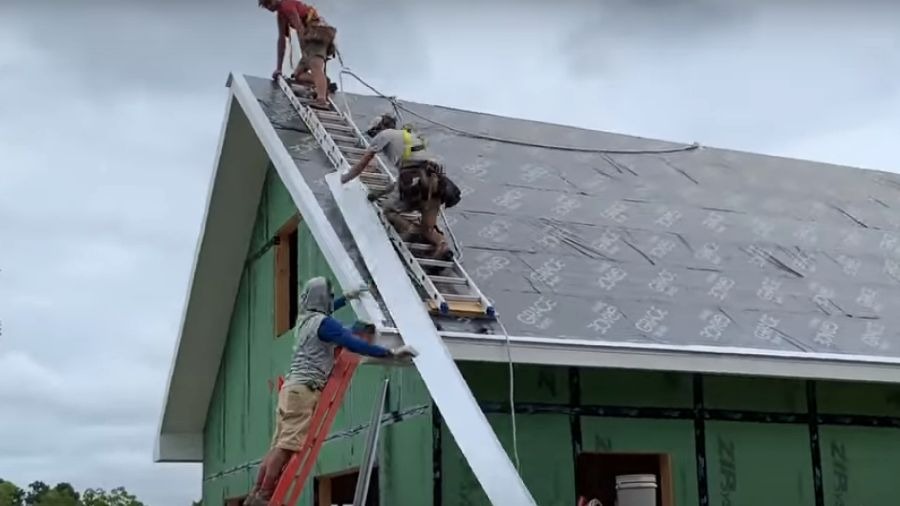
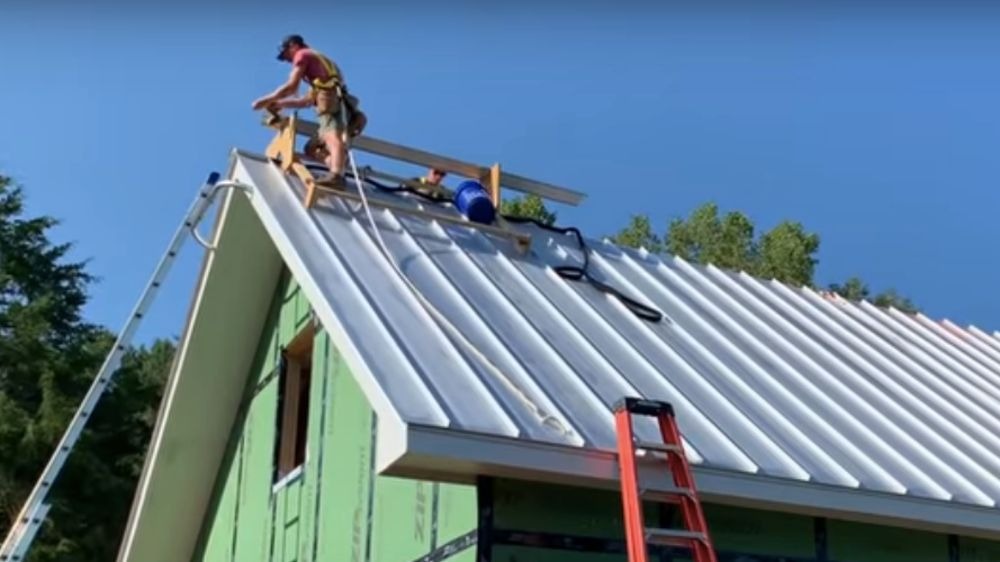
You just learned how to build a better roof that'll last a lifetime and save a bunch of money. Doing it. Now we going to get safely down from this roof.
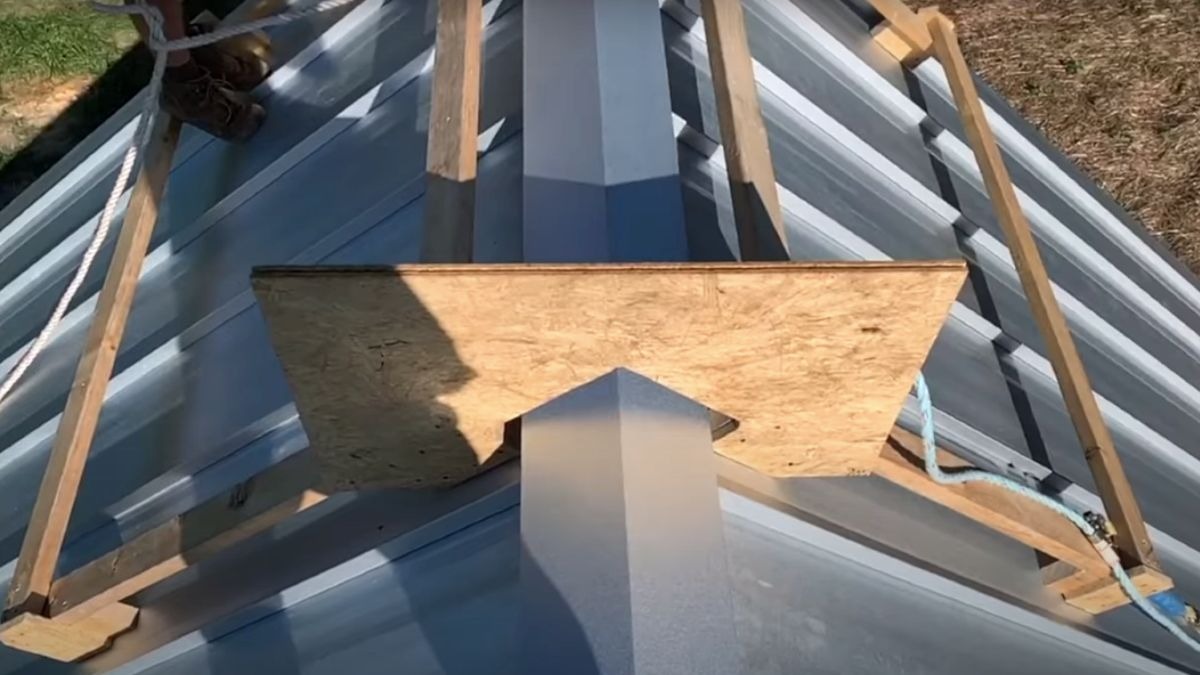
Make gusset to tie to 2x4 to span the ridge so have a safe place to stand on this 10 by 12 super steep pitch. Be safe and actually not be fumbling around with drills, drivers, screws, clips, and other stuff.
Later we go for more information on other flashing and installation details.